What Is Used to Attach Connectors to Wires?
Connecting wires involves connecting equipment with cables, a crucial step in conducting electrical work. Whether you are a DIY enthusiast or a professional electrical contractor, it is always essential to ensure that wire connection points are securely fastened for both safety and functionality reasons. Crimping remains one of the most effective ways of securing connectors to wires. This article covers what to consider when selecting a wire connector kit, how crimping tools connect cables to connectors, guidelines for achieving a perfect connection, and why crimping is essential.
What Does Crimping Connectors to Wires Mean?
Crimping involves compressing a metal connector, identified as a crimp terminal, onto the stripped part of a wire to make a good electrical connection. The crimping tool presses the connector against the wire, causing it to crimp and hold firmly around it without the need for soldering, using tools like the iCrimp IWS-1442L Micro Connector Crimper Plier. This method is prevalent in the automotive, electrical, and telecommunications industries, as it is easy and highly reliable.
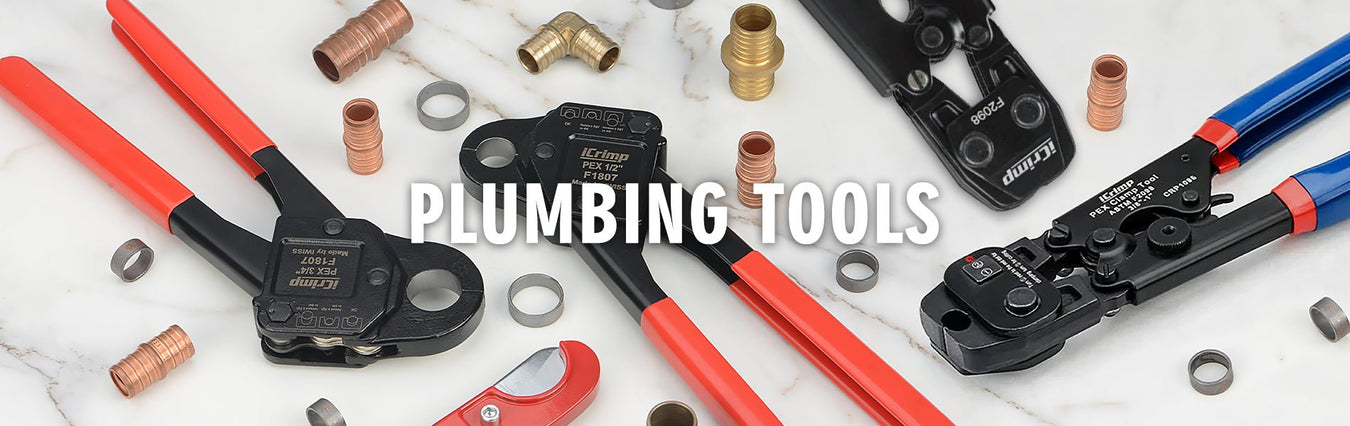
Tools You Need to Attach Connectors to Wires
1. Wire Connector Kit
Wire connector kits typically include additional terminals or connectors, such as butt connectors, ring terminal connectors, and spade connectors. These components come in different sizes, depending on the gauge of the wires they are intended to work with. In the kit, you get the crimp connectors onto the wires to complete the electrical connections. A good example is the iCrimp connector kit.
2. Crimping Tool
The crimping tool is essential for joining connectors to wires. These tools can either be manual, ratcheting, or hydraulic. An ideal example is the iCrimp Wire Connectors Crimping Tool. One of its features is that the holes are color-coded to match different connectors and wires, ensuring you apply the required pressure on the connector and wire without causing any damage.
3. Wire Strippers
However, one has to strip the insulation from the end of a wire before crimping. It aids in elating the terminal of the conductor to accommodate the connector. A good example is the iCrimp Wire Stripper.
Selecting the Right Wire Connector Kit
When selecting a wire connector kit, consider the following factors:
- Wire Gauge: When selecting the connectors, they should be able to fit the wire gauges you will be using.
- Connector Types: Select a kit that has the kinds of connectors that you require, for instance, butt connectors, ring terminals, or spade terminals.
- Crimping Tool Compatibility: When selecting crimping tools for the kit, ensure they are suitable for the connectors and wire gauges you will be handling.
- Kit Size: This will depend on the size of the kit and the task at hand, which must be determined. A well-sized kit may be helpful, especially when the tool is used frequently.
How to Use a Crimping Tool to Attach Wire Connectors
-
Step 1: Choose the Appropriate Connector
When selecting the correct wire connectors from the wire connector kit, you ought to consider the gauge of the wire and its usage. Connectors are usually color-coded depending on the wire size; therefore, choose the correct one for the connection.
-
Step 2: Strip the Wire
It is essential to strip to some degree of the wire’s insulation or sheath, and the best way to do this is to use a wire stripper and strip about a quarter of an inch. Watch How to Strip a Wire to ensure you do not cut through the wire strands, or you will compromise the connection. The exposed wire should be clean and free from any cut marks.
-
Step 3: Slide the wire into the connector
Take the exposed wire and insert it into the open side of the connector. Ensure that the stripped wire goes into the metallic end of the connector with no wire strands sticking out. It can secure total conductivity, and the fit is tight on the tube.
-
Step 4: Crimp the Connector
Insert the connector into its proper position in the crimping tool according to the color-coded zone related to the size of the connector. Twist both the handles of the crimping tool. An example is the iCrimp Wire Crimping Plier Tool until this tool tightly compresses the connector against the wire. When you complete a connection, you should be able to get a sense of contact pressure and click.
-
Step 5: Inspect the Crimp
After crimping, pull the wire in a way that will make the connector fit well. The crimp should be precise because it clamps the wire, so there are no chances of any movements. If it is done incorrectly, the crimp will not be tight; the wire will slip out; consider crimping it again.
Why Crimping is Essential
- Reliable Connection: A correctly crimped connection ensures high mechanical strength and low electrical resistance, reducing the likelihood of loose connections that can cause hazards or malfunctions.
- Efficiency: Crimping is quicker than soldering, uses fewer tools, and is thus recommended for large-scale projects, especially fieldwork.
- Durable: Crimped connections can handle vibrations and other unfavorable conditions, thus being used in automotive and industrial applications.
- Safety: Crimped connections are safe and eliminate electrical dangers, including short circuitry.
- Versatility: Using crimping tools on different wire gauges and connectors, such as solderless connectors, is easy.
Read more: What Kind of Wire Crimper Do I Need?
Bottom line
A crimping tool connects wires by joining connectors to the wire, a simple but crucial process when making an electrical connection. Applying the correct wire connector kit and following all the required steps will enable you to make the necessary connections in the electrical work. iCrimp offers a durable and affordable wire connector kit, along with associated crimping tools.
References