How Can I Crimp Terminal Connectors?
Table of Contents
What are Terminal Connectors?
Tools You Need for Crimping
A Simplified Procedure for the Crimping of Terminal Connectors
1- Prepare the Wire 2- Select the Right Terminal 3- Place the Wire into the Terminal 4- Insert the Terminal in the Crimping Tool 5- Apply Pressure 6- Inspect the Crimp 7- Apply Heat Shrink Tubing Tips for Successful Crimping
Final Thought
Connecting terminals to cables is a crucial technical task that electrical contractors should always learn. Whether you are an experienced electrician or a DIY enthusiast, knowing how to crimp terminal connectors correctly ensures safe and secure connections. This guide illustrates how to crimp terminal connectors using the appropriate tools and methods.
What are Terminal Connectors?
A terminal is a metal fitting at the end of a wire that holds it to another component, such as a screw or a post. Different types of terminals include ring, spade, and butt connectors, which are crucial in electrical circuits.
Connectors such as the AMPSEAL 16 Connector Series are devices that connect electrical connections between circuits. Crimping ensures that the end of the wire is securely attached to the terminal, thereby producing strong mechanical and electrical connections.
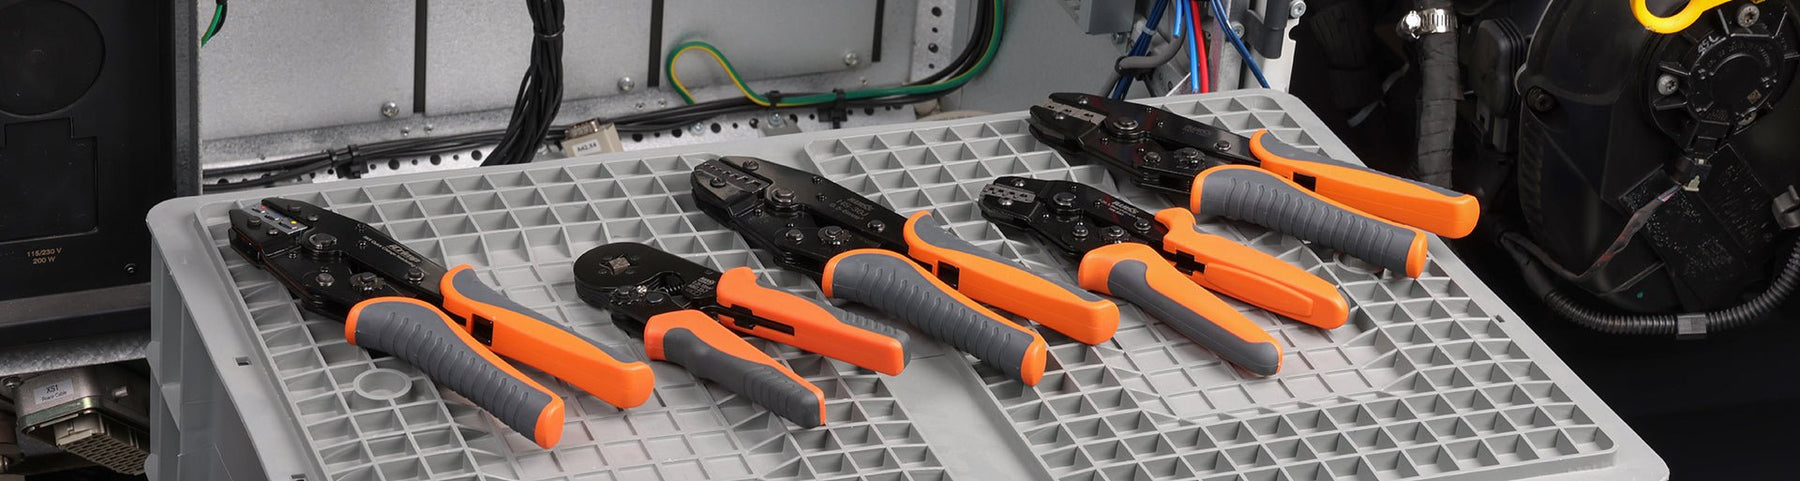
Tools You Need for Crimping
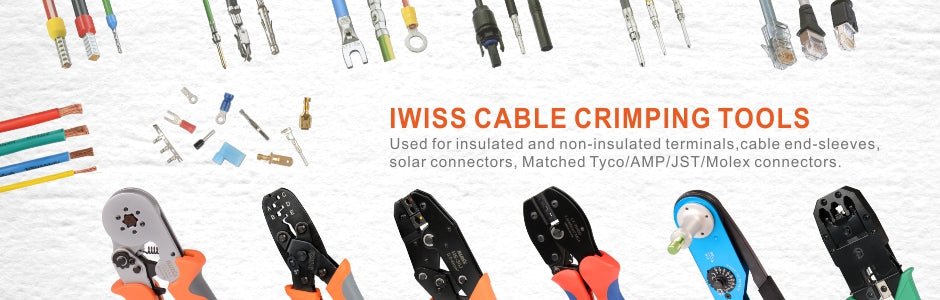
Crimping Tool
It is the primary device employed for crimping. It distributes its pressure evenly on the terminal and the wire. A good example is the IWS-38 Non-Insulated Terminal Crimping Tool.
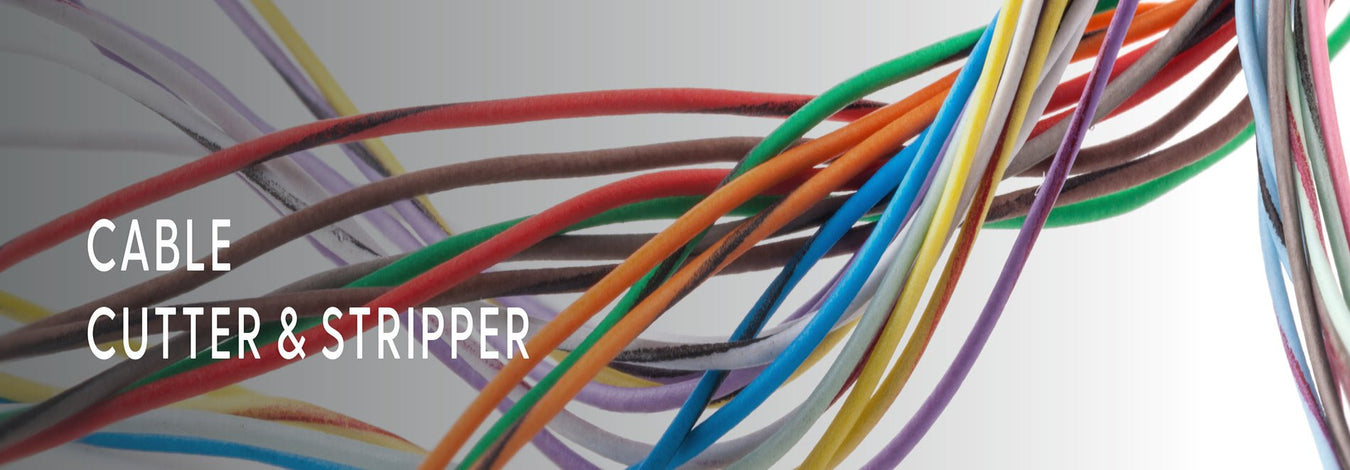
Wire Stripper
It removes the insulation of the end of the wire to reveal the bare copper wire.
Terminal Connectors
You must select the correct terminal, depending on whether you are making a direct connection. The terminal size must be compatible with the wire gauge and the crimping tool used on it. Get different terminal connectors from the iCrimp KIT-125 DT Connector Kit.
Heat Shrink Tubing
It provides an extra layer of protection to the connection after crimping, helping to enhance the strength of the joint. An ideal example is the Heat Shrink Connectors Crimping Tool.
A Simplified Procedure for the Crimping of Terminal Connectors
1- Prepare the Wire
The first step is to prepare the wire. A wire stripper, such as the IWS-D10 Wire Stripper, strips the wire until a piece of insulation with a quarter-inch length is removed from the end of the wire. Avoid cutting the copper strands at this stage to maintain their strength and connection.
2- Select the Right Terminal
Select the suitable terminal connector after the wire is fixed, depending on your project. Terminals can be of varying styles, including ring, spade, and butt terminals. Additionally, the terminal is confirmed to fit the wire gauge and the necessary connection type.
3- Place the Wire into the Terminal
Subsequently, insert the stripped end of the wire into the opening of the barrel of the terminal. There should be no insulation from the copper strands at the terminal; the insulation is contained within the barrel. A proper fit confirms that the crimp will hold securely.
4- Insert the Terminal in the Crimping Tool
Then, duct the terminal and wire combination into the crimping tool, and an ideal example is the YQK-70 Hydraulic Terminal Crimper. Head terminals are crimped in different sizes, so ensure that the crimping tool corresponds to the sizes of the terminal head. It is essential to note that the crimping tool is operated over the barrel of the terminal but not over the wire insulation.
5- Apply Pressure
Twist the handles of the crimping tool until the terminal stretches or squeezes onto the wire. A firm mechanical interlock between the terminal and the wire strands achieves it. When applying a gentle force, a well-crimped terminal will not pull away or separate.
6- Inspect the Crimp
After crimping, ensure the terminal is correctly connected to the wire and appropriately secured. If the terminal feels loose or the wire slips out, the crimp is incorrectly done, and you will need to do the crimping again after stripping a new terminal.
7- Apply Heat Shrink Tubing
The heat shrink tubing can be slid over the terminal as an extra measure, mainly where the crimped terminal is in an automobile or other exposed environment. A heat gun is applied to reduce the size of the tubing over the connection in a manner that will prove watertight and immune to erosion.
Tips for Successful Crimping
Use the Right Crimper
One should invest in a crimper suited explicitly to a terminal and wire gauge when crimping a terminal and wire gauge.
Apply Sufficient Pressure
Applying enough pressure to the crimper is essential for a correct connection.
Inspect for Damage
Before crimping the wire and terminal, and after crimping the output, check for any possible signs of damage.
Follow Electrical Codes
When electrical parts are involved, follow the electrical codes and regulations.
Read more: What Kind of Wire Crimper Do I Need?
Final Thought
Crimping terminal connectors constitute a significant part of electrical connections. By properly equipping yourself with the correct crimping tools and understanding the best way to process them, you can achieve the best connections that can withstand various circumstances. Buy an excellent crimping tool and terminal connectors from iCrimp for efficient and secure connections.
References