How to Install Cable Railing on a Deck
Table of Contents
Why Choose Cable Railing?
Guide to Installing Cable Railing on a Deck
Step 1: Assemble the Equipment and Supplies You Will Require Step 2: Plan Your Post Layout Step 3: Install the Posts Step 4: Drill Holes for the Cables Step 5: Install the Cables Step 6: After Securing the Cables, Check Their Alignment Final Thought
Guide to Installing Cable Railing on a Deck
Step 1: Assemble the Equipment and Supplies You Will Require Step 2: Plan Your Post Layout Step 3: Install the Posts Step 4: Drill Holes for the Cables Step 5: Install the Cables Step 6: After Securing the Cables, Check Their Alignment Final Thought
Cable railing is famous for decks today because of its elegant look and ease of use, and it can give an efficient safety cover without hindering the view. Whether you're looking to enhance an existing deck or build a new one, understanding proper cable railing installation is crucial for creating a creative and valuable outdoor space. Here, you will find step-by-step instructions on fitting cable railing to a deck so your finished project is functional and elegant.
Why Choose Cable Railing?
Cable railing systems have a sleek design as one of their main features, so they have a modern appearance. They also do not require frequent staining or painting, are robust, and have enhanced vision owing to the features in the deck, especially where the deck is constructed overlooking a great view. Furthermore, the same solution as cable railing provides additional protection against falls while preserving visibility, so it is perfect for families with children or pets.
Guide to Installing Cable Railing on a Deck
Step 1: Assemble the Equipment and Supplies You Will Require
Before starting, make sure you have the necessary materials and tools for the job:
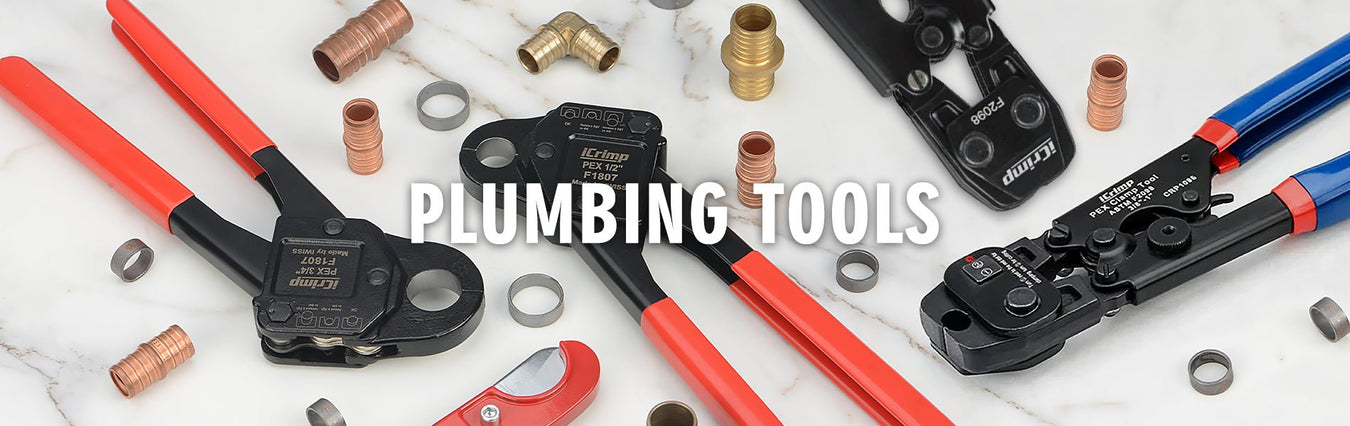
- Cable railing accessories include cables, posts, and a Hydraulic Cable Railing Hand Crimper.
- Post (mantle) wood, metal, or composite railing deck
- Cable tensioning tool
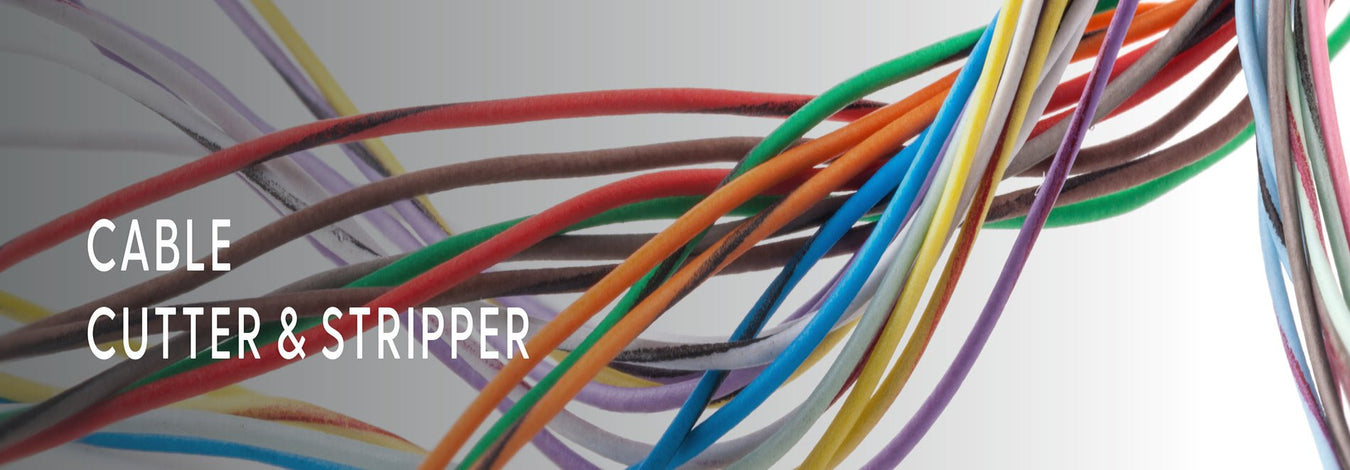
- Cable cutter
- Drill with appropriate bits
- Level
- Measuring tape
- Wrench or screwdriver
- Mounting brackets of the machinery
Ensure your cable railing kit accommodates your deck's dimensions and configuration.
Step 2: Plan Your Post Layout
The first step is deciding how you will organize your posts. They are viewed as supporting elements of the railing system, and it is necessary to install posts accurately. End towers shall be subjected to most cable forces, while middle towers maintain alignment and cable sag. Knowing the length and width of your deck will help you understand how much railing is required.
Select a style to define the preferred type of cable railing; it may be horizontal or vertical. Think about the general architecture and style of your house and your deck. Posts are commonly installed at intervals of 4 to 8 feet to keep the cables tight between them. The exact distance added to the cable depends on the system used. Identify the positions where the posts are fixed to stabilize the deck and ensure even placement.
Step 3: Install the Posts
Once you have decided where to plot your posts, it is time to put them up. Start at the corner and end post since these will form part of the tensioned cables supporting the barrier. The posts are drilled if the pilot holes need to be made, which are fastened to the deck through bolts or screws. Level each post to ensure that it is perfectly perpendicular to the ground. It's crucial in the context of the looks and functionality of the railing system.
Once you have set up the corner and end ones, you can install the intermediate posts, ensuring they are spaced evenly.
Step 4: Drill Holes for the Cables
With the posts in position, it is now time to install the holes for the cables. It is recommended that you lay out the positions of the holes you intend to make along each post at equal distances. The number of holes will depend on the height of your railing. Placing the holes 3 to 4 inches apart from each cable is a good idea.
It will be essential to use a drill and drill through each post at the positions marked with an appropriate drill bit. It is necessary to guarantee that the railing is neat and that cables are neatly laid and running parallel.
Step 5: Install the Cables
However, after drilling the holes, the cables are fitted. Start by threading the cable through the holes in the post in a direction from one end post to the other. Secure the wires at the two end posts with the nuts and bolts in your electrical package.
After that, a cable tensioning tool, such as the Stainless Steel Wire Rope Tensioners, will help tighten the cables after passing through them. The cables must be tensioned but not excessively so, to avoid applying too much pressure on the posts and other hardware. Tighten each cable, but ensure they are tight at the same level throughout the system.
Step 6: After Securing the Cables, Check Their Alignment
Once cables are installed and the tension is applied to the wires, secure the ends with screws or use a wrench. Cut off any additional cable using the cable cutter. Then, to ensure they are fixed in the fitting, leave a small amount at the end.
After this exercise, it is essential to inspect the entire railing system to ensure that all cables are relatively centralized while the posts are upright.
Final Thought
The cable railing on your deck will add elegance and value to the deck and its surrounding space. If you want to do it yourself, follow these steps and take the necessary safety measures. Then, you can build this railing and enhance the beauty of your outdoors. Always ensure that you pick the cable railing kit that fits both your personality and taste, as well as the interior design of your house. Should you need assistance, don't hesitate to ask for professional advice. Browse the iCrimp cable railing kits for the best accessible and affordable tools for installing cable railing on your deck.
References