How Can I Fasten Pinch Clamps?
Table of Contents
What Is a Pinch Clamp? Benefits of a Pinch Clamp Equipment You Require to Fix a Pinch Clamp A Step-by-Step Guide on Fastening Pinch Clamps Step 1: Get Ready Your Elements Step 2: Insert the Tubing into the Pinch Clamp and Move it to Slip the Tubing Step 3: Insert the Tubing in the Fitting Step 4: Put the Clamp Step 5: Level the Tool Against the Clamp Ear Step 6: Squeeze the Tool Till the Clamp is Completely Compressed Step 7: Inspect the Clamp Bottom Line
The pinch clamp is one of the best for stability and ease of use when installing flexible tubing in plumbing, automotive, or industrial systems. These small yet powerful clamps ensure a leakproof connection when correctly installed. A poorly completed pinch clamp increases the risk of leaks, system failures, and even safety threats. This guide will take you through everything you need to know about the pinch clamp and how to fasten it step by step.
What Is a Pinch Clamp?
A pinch clamp is a clamp, usually stainless steel, used to tightly secure tubing to fittings. It also has a small ear or tab that, when squeezed with special tools, closes the clamp over the tubing. Once installed, the pinch clamp firmly holds the tubing, providing constant, permanent contact. Most plumbing networks, automotive, irrigation, beverage, and medical equipment use pinch clamps.
Benefits of a Pinch Clamp
-
Durability
It is made of stainless steel, which does not easily corrode.
-
Even Pressure
Even tightening reduces the possibility of a leak.
-
Size Portable
It can be situated in narrow areas.
-
Tooling Flexibility
A single tool may be used to fasten a range of clamps of many sizes.
-
Safe and Non-removable
The clamp becomes impervious to removal after crimping it. Hence, long-lasting connections.
Read More: How Can I Fasten PEX Clamps?
Equipment You Require to Fix a Pinch Clamp
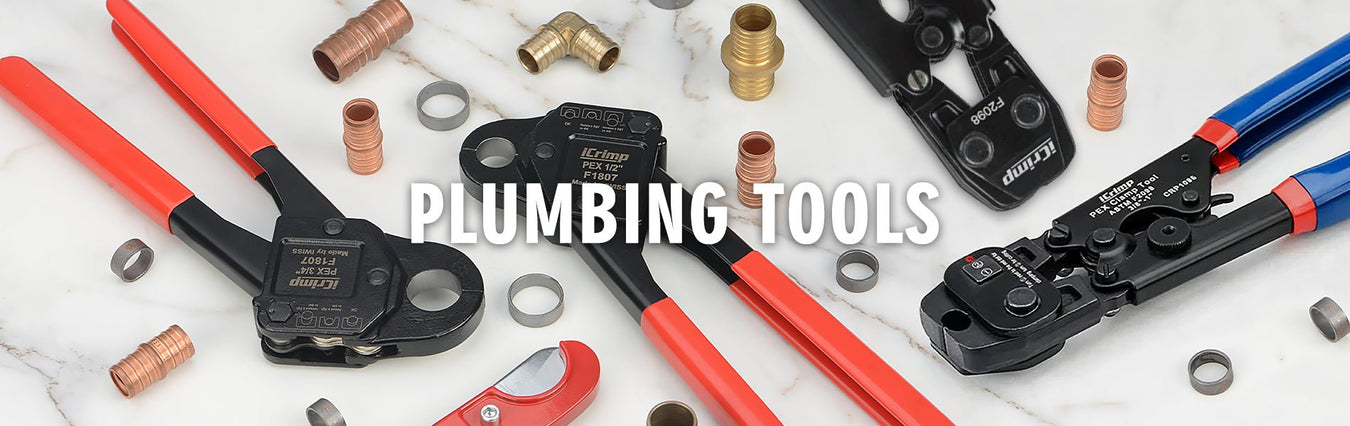
- Pinch clamps, pincer/ ear clamp tool. The F2098 Ratchet One-Hand PEX Clamp Tool is a good example.
- Tubing such as PEX, vinyl, and silicone.
- Fittings such as 1/2" Brass Splicer Pipe Fittings.
A Step-by-Step Guide on Fastening Pinch Clamps
Step 1: Get Ready Your Elements
Ensure the hose and the fittings are clean and well deburred. Any dirt or grease can undermine the seal. Check the barb on the fitting for compatibility with your hose and ensure there is no damage to the barb.
Step 2: Insert the Tubing into the Pinch Clamp and Move it to Slip the Tubing
Put a pinch clamp on the tubing, but do not tighten it before installing the fitting. This clamp point points outward with the ear raised, at a position where you can easily reach it with your tool.
Step 3: Insert the Tubing in the Fitting
Insert a barbed or insert fitting into the tubing until seated. Make sure the seal is secure and solid.
Step 4: Put the Clamp
Push the pinch clamp back onto the part where there is tubing over the fitting. The clamp must be centered over the fitting's barb or gripping portion to hold it firmly. Please do not put the ear on any ridge or other feature on the fitting that might lie between it and the compression.
Step 5: Level the Tool Against the Clamp Ear
Put the pinch clamp's jaws around the clamp's ear. Ensuring the tool is fully seated and aligned is essential for providing even pressure.
Step 6: Squeeze the Tool Till the Clamp is Completely Compressed
Squeeze the tool's handles firmly and gradually. You will see that the ear folds toward the tubing, which closes the clamp snugly over the tubing. Keep pressing down until the ear lies flat and contact can be felt on each side, or until there is near contact between the two sides. There ought to be a clear "click" or firmness, meaning the clamp is completely compressed. Be careful not to squeeze beyond the point where the ear is completely flattened, as this may weaken the clamp or break the hose.
Step 7: Inspect the Clamp
Once it is fastened, check the clamp. The ear must be bent downwards, and the clamp must fit firmly around the tubing, with no slack or gaps.
Bottom Line
One of the most basic but essential skills is fastening a pinch clamp to get reliable, leak-free connections in any application. With the proper tool, a dedicated pinch clamp pincer, and the simple steps above, you can make a secure and permanent seal each time. Discover durable and high-quality pinch clamps and professional-grade tools from iCrimp today.
References