How To Crimp Two Wires Together
Table of Contents
What is Wire Crimping?
Tools and Materials Needed
A Step-by-Step Guide on How to Crimp Two Wires Together
1- Prepare the Wires 2- Choose the Right Crimp Connector 3- Fix the Wires Into the Connector 4- Crimp the Connector 5- Inspect and Test the Connection Why Crimping is Important
Tips for Successful Crimping
Bottom line
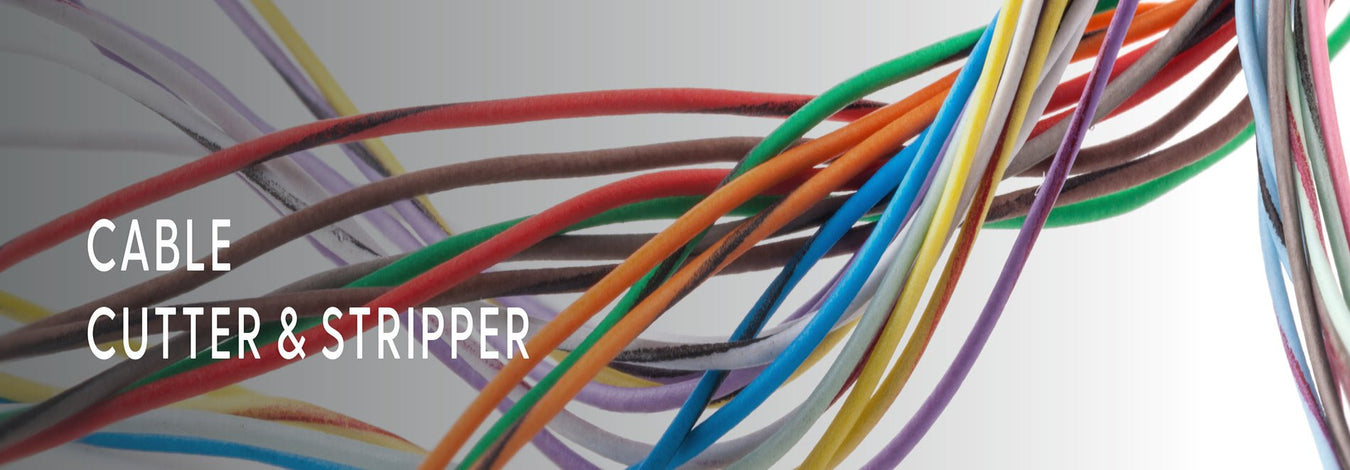
Wire connections must be robust in electrical projects, especially between wires. In this technique, wires are joined together by bending their end to almost enclose the end of the wire on the other side. One of the most effective methods for ensuring a solid connection that guarantees both functionality and safety is to crimp wires together. Crimping is very useful in various applications, including automobiles, household tasks, and installations. The method for crimping two wires together with a wire connector kit will be demonstrated in this article.
What is Wire Crimping?
Crimping is a technique that involves the connection between two wires, where a connector is used and squeezed around the two wires to achieve a firm contact. The most important one is the crimping tool, which forces the connector on the wire to have a tighter and better grip. Crimping is popularly associated with electrical terminals and connectors within wire connector kits. The standard contents of these kits include various crimp connectors, such as butt splices, ring terminals, and fork terminals.
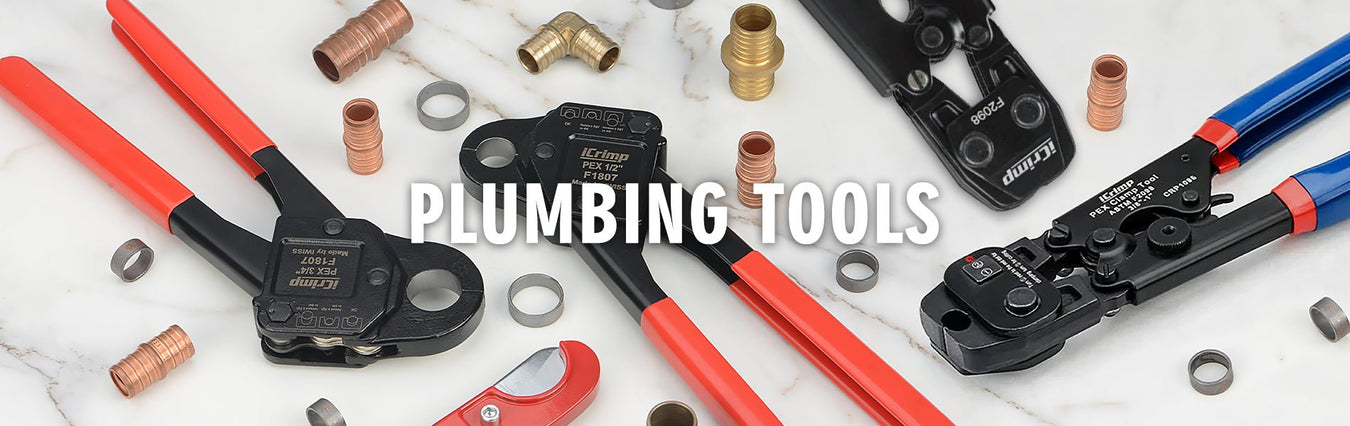
Tools and Materials Needed
- Wire Connector Kit: Ensure it comes with accessories such as crimp connectors and butt splice connectors.
- Crimping Tool: It applies the proper pressure to lock the connector securely and in the correct manner.
- Wire Strippers: These are applied to strip the insulation from the end of the wire.
- Heat Shrink Tubing: For some purposes, such as protection and or insulation, in specific environments.
A Step-by-Step Guide on How to Crimp Two Wires Together
1- Prepare the Wires
When connecting two wires, the first thing to do is to strip the two wires using the iCrimp Automatic Wire Stripper and remove a small portion of the outer layer of the wires. Cut the cables according to their size and uses. Usually, it is advisable to strip one-fourth to half an inch of the cable’s insulation with the help of your wire strippers. You have to be very cautious during this process not to damage any wire strands. Ensure that the exposed wire fits into the crimp connector and is not protruding from the other end, but it should also be long enough to fit correctly in the connector.
2- Choose the Right Crimp Connector
Next is to select the suitable crimp connector from the wire connector kit you intend to install. If two wires are to be connected end-to-end, a butt splice connector is the most appropriate option. These include butt splices which are cylindrical and ensure that each wire is slid into one side for an inline connection. Ensuring that the crimp connector you purchase is appropriate for your wire gauge is also essential. A good example is the iCrimp Pitch Wire-to-Wire Dupont Connector Kit. Most connectors have color coding to show what size they can handle.
3- Fix the Wires Into the Connector
After you have chosen the appropriate crimp connector, fully insert one wire-stripped end into one side of the connector. Insert the other wire into the other side of the butt splice by following the same procedure.
4- Crimp the Connector
Insert the connector into the right slot of your crimping tool; most crimping tools feature color-coded slots corresponding to the connector. Tighten the connector using tools like the iCrimp SN-025 F Crimp D-sub Dupont Connector Crimp Tool onto the wire by pulling the handles and putting very tight pressure on it. Again, be careful to crimp both ends of the connector to hold the two cables effectively. If a connection is done correctly, the crimping force will be so high that you cannot remove the connection with a small force.
5- Inspect and Test the Connection
Check that wires are correctly captured inside the connector. You may use heat-shrink tubing over your working area to enhance the shielded area within the crimped section. Slide the tubing over the connector and use a heat gun to shrink the tubing, providing insulation.
Why Crimping is Important
Crimping provides a better and more long-lasting connection than twisting wires. It forms an easy path for current flow and minimizes the possibility of heat build-up and circuit breakdown. Moreover, this is true in the automotive industry or other settings where vibration or other conditions can weaken less secure connectors.
Tips for Successful Crimping
- Use the Right Crimping Tool: Ensure that the type of crimping tool matches the type of connector and gauge of the wires you use.
- Apply Even Pressure: Do not use too much force when twisting with the crimping tool. It can destroy the connector or the wires.
- Inspect the Connection: As mentioned above, it is necessary to visually confirm the proper position of the wires and the crimp used after crimping.
- Follow Electrical Codes: Always use and install electrical products in compliance with the local electrical codes and standards.
Read more: What are the Steps in Cable Crimping?
Bottom line
Crimping two wires is probably one of the primary and most essential skills anyone engaging in electrical projects should master. If you follow this guide, using tools in the wire connector kit and ensuring that there are good, tight crimps on the cables, your connections will be safe, solid, and long-lasting. iCrimp offers professional wire connector kits and high-quality and easy-to-use crimping tools.
References